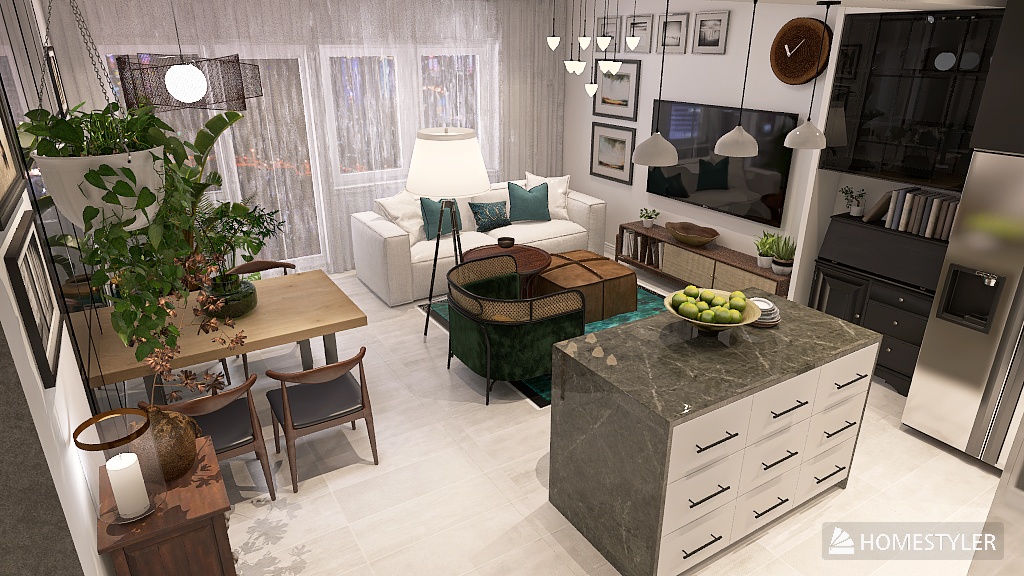
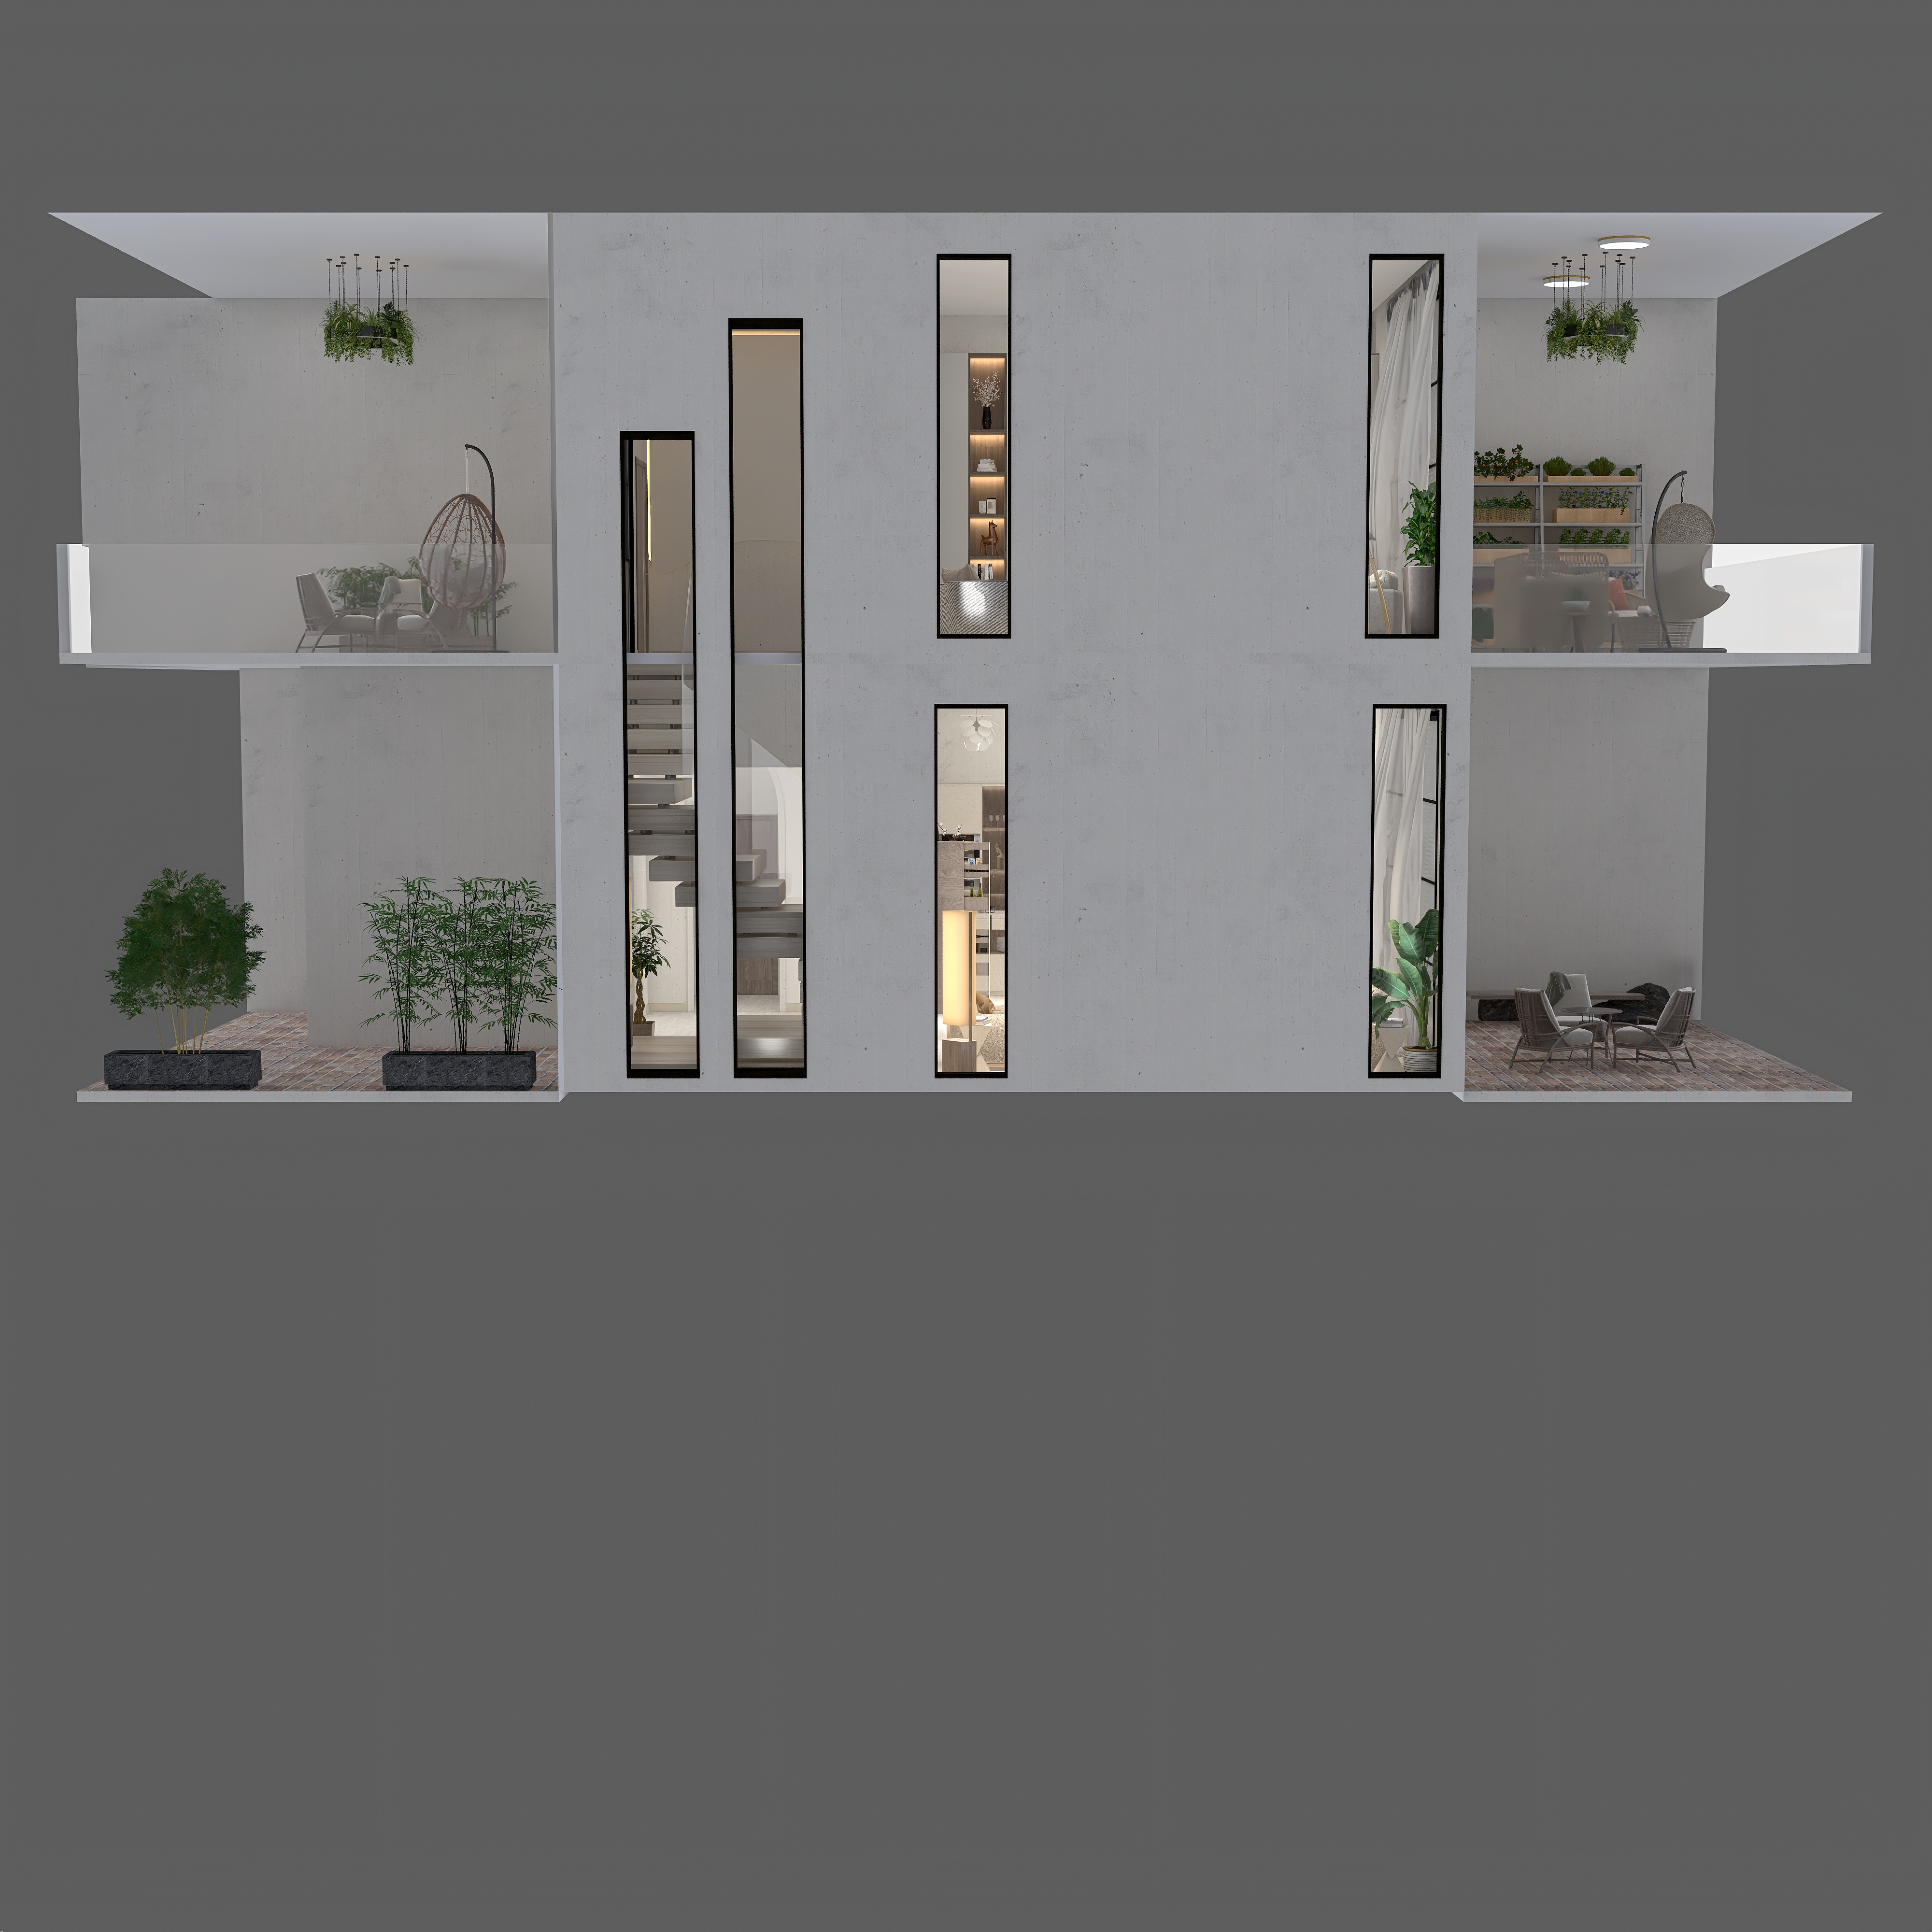
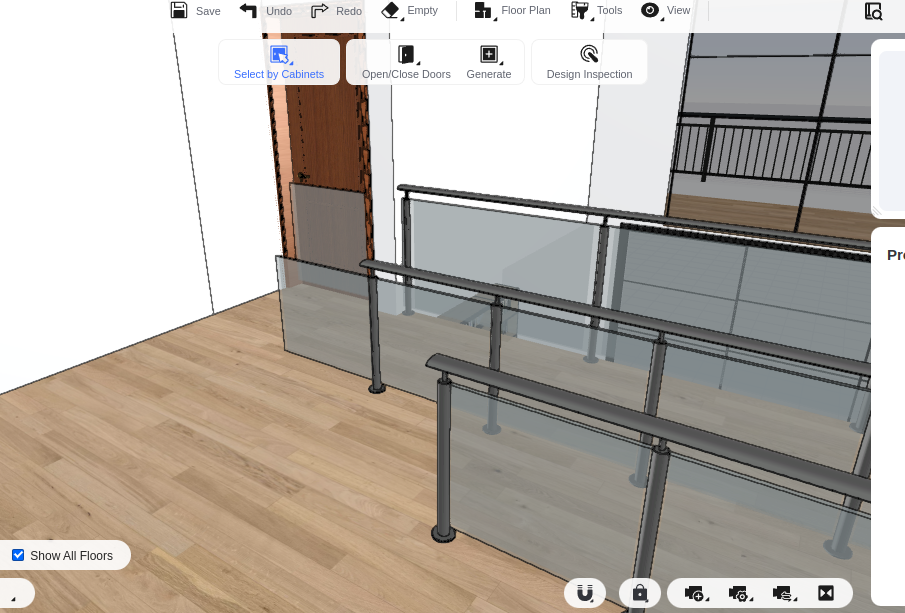
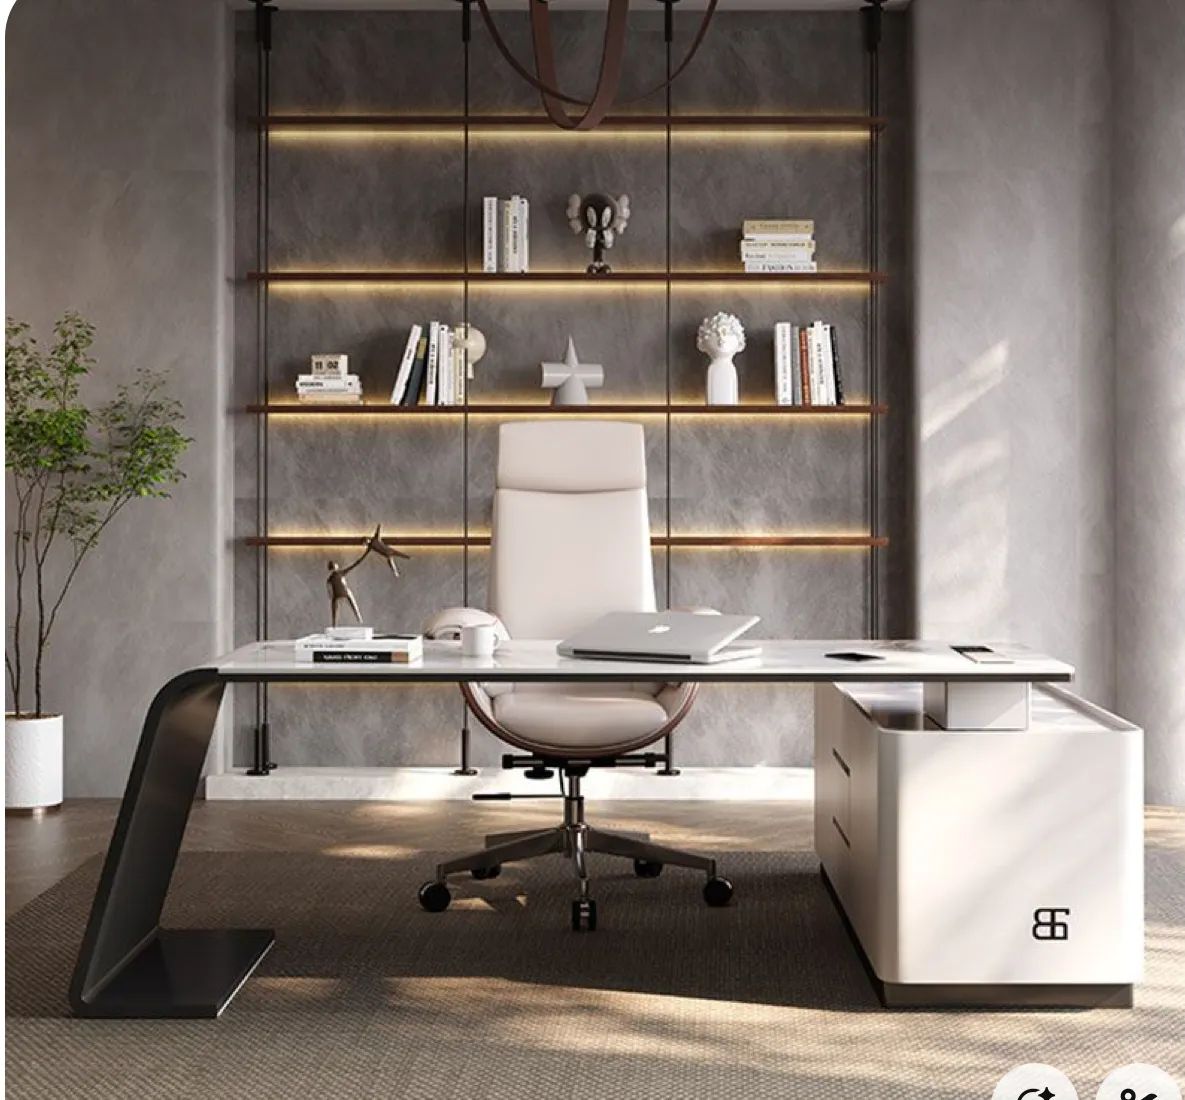
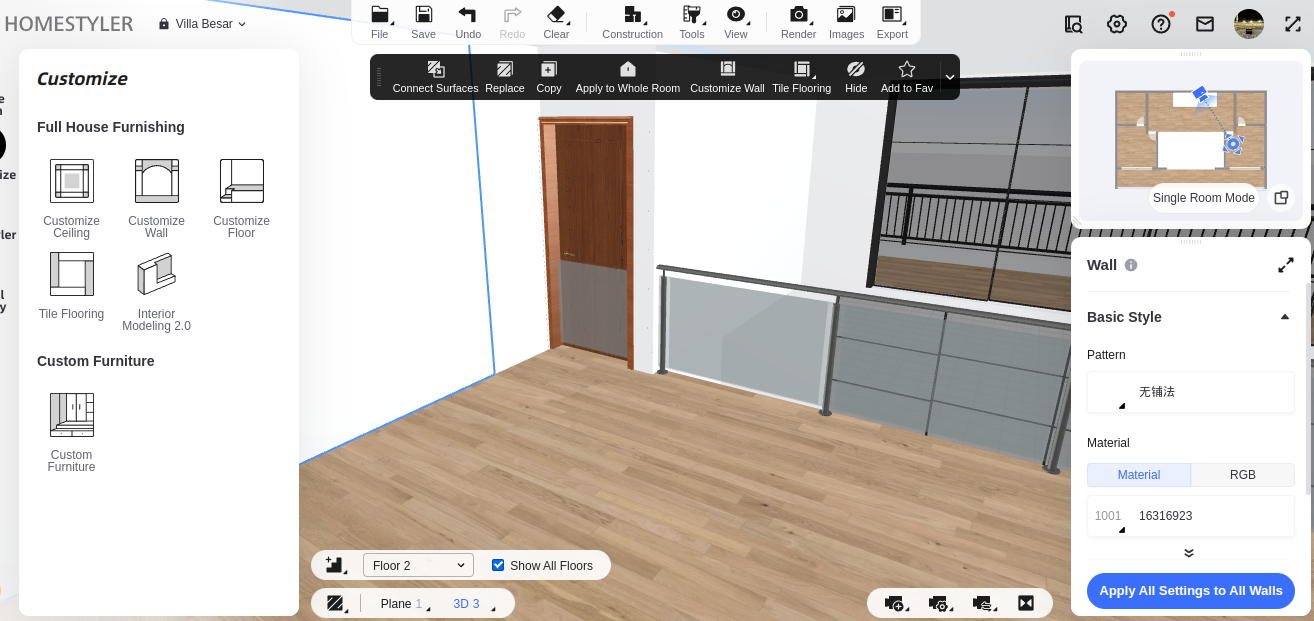
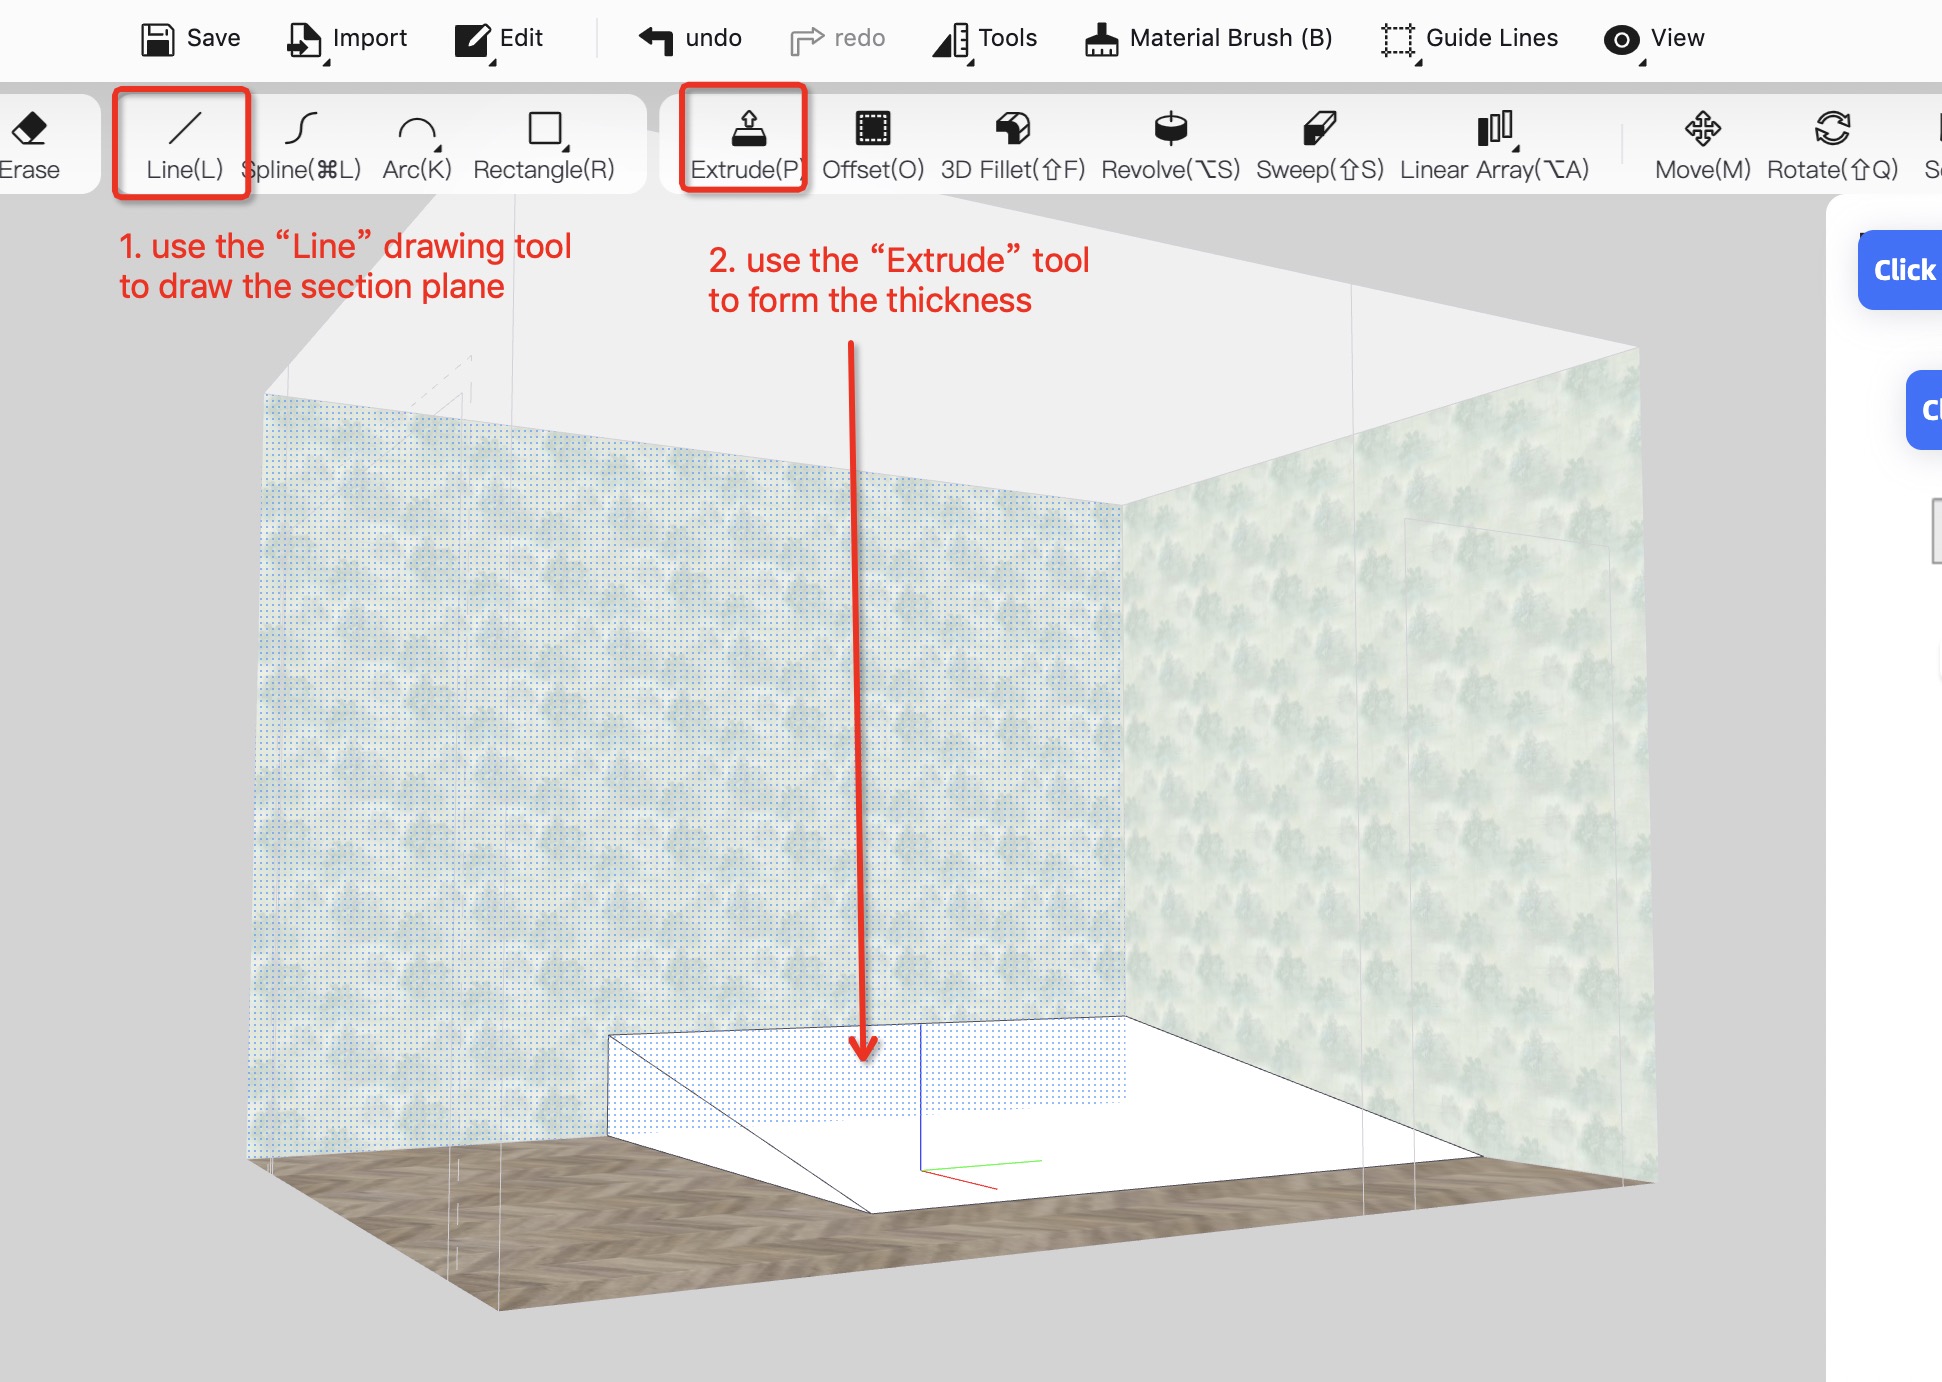
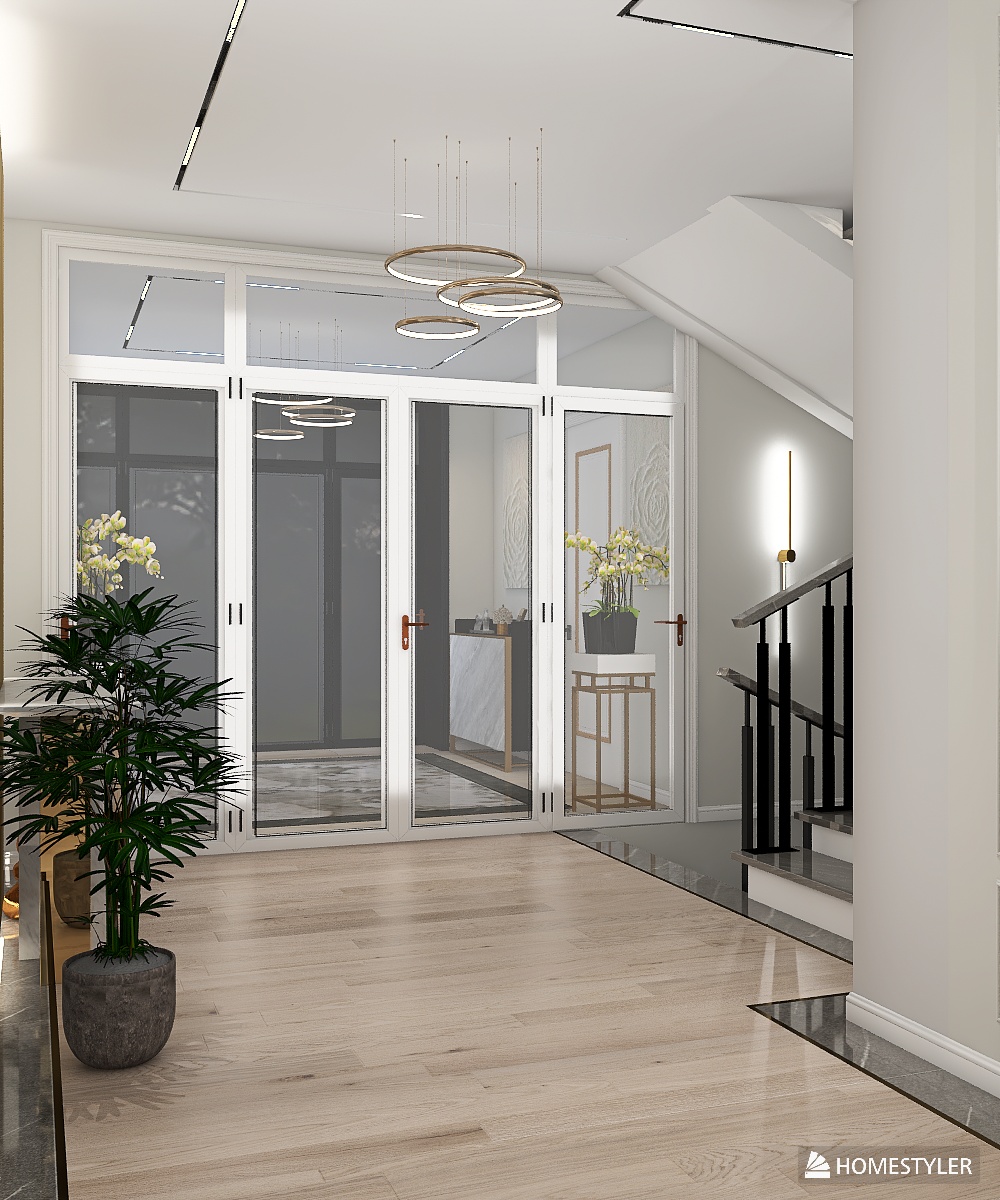
Create a multi-storey villa with Homestyler in 20 minutes!

Homestyler Official 25 August 2022

This case practice tutorial is a step-by-step instruction on how to create an exact multi-storey villa shown in the cover image. The contents include: using the "Add Floor" tool to add the second floor; detailing the structure of the villa; applying materials to the walls, floors and other structures; selecting models from Model Library to arrange the interior; arranging the outdoor landscape environment and so on.【Please turn on the Subtitle option to view the instructions】


【Timecodes】


0:00 Create the 1st floor, Add doors and windows


0:53 Add the 2nd floor and adjust the wall position


1:43 Set the room type, Add doors and windows


2:46 Create the balcony, Make holes in the floor


3:47 Add railings to the balcony and floor holes


5:27 Add curtains and other furniture to both floors


7:01 Enter "Interior Modeling 2.0", Draw the raised underside of the villa


8:31 Draw the puter fence, flowerbed and the ground surface


10:35 Draw the outdoor steps and the ramp for the garage


12:57 Apply materials to shapes individually


15:22 Apply a paving pattern to the floor


15:53 Add wall lamps and potted plants to the room


17:33 Arrange the outdoor environment


19:10 Adjust the viewing, lighting and environment to complete the rendering


0 18922 27

Comments(27)

head-img
Юлия Руденко 5 February
Video is not availible :(
4 Reply
head-img
Habil Mp 25 January 2023
why this happen?
attachment
1 Reply
head-img
Ирина Трубина 26 March
+
Helpful Reply
head-img
Maria Plestsova 18 March
почему видео недоступно?
Helpful Reply
head-img
Светлана К 14 March
недоступен ролик
Helpful Reply
head-img
Ирина 13 February
👍
Helpful Reply
head-img
Victor Heyk 5 December
не работает фунция переключения между этажами. Почему?
Helpful Reply
head-img
Haya Alyosef 17 October
<style> .house {width: 400.0px;height: 300.0px;background-color: #f2e8cf;border: 2.0px solid #a08053;position: ;} .roof {width: 0;height: 0;border-left: 200.0px solid transparent;border-right: 200.0px solid transparent;border-bottom: 100.0px solid #d95420;position: ;top: 0;left: 50.0px;} .door {width: 50.0px;height: 100.0px;background-color: #a08053;position: ;bottom: 0;left: 175.0px;} .window {width: 60.0px;height: 60.0px;background-color: #a0c0d8;position: ;top: 120.0px;} </style>
Helpful Reply
head-img
Lenar Basharov 13 September
во
Helpful Reply
head-img
Isbell, Jamison S Student 26 April 2023
yeh
Helpful Reply
head-img
Habil Mp 23 January 2023
Homestyler, i dont know how to fix it? please help me. how to remove the last part that is blocking the door
attachment
Helpful Reply
head-img
Raimundo Oliveira 29 October 2022
I love homestyler
Helpful Reply
head-img
kobuguza.sacha 8 October 2022
how to get out here
Helpful Reply
head-img
Petersuper Parn 29 August 2022
1
Helpful Reply
head-img
Radmila Milidragovic 1 July 2022
thanks
Helpful Reply
head-img
Yến Phạm 28 June 2022
I feel design so good
Helpful Reply
head-img
Yến Phạm 28 June 2022
dvfetgfw
Helpful Reply
head-img
Isabelle Simard 5 June 2022
Hello, How to make a ceiling with a mansard on one side only?
Helpful Reply
head-img
svetabokoeva bokoeva 21 March 2022
Или же на windows xp?
Helpful Reply
head-img
svetabokoeva bokoeva 21 March 2022
Доброго времени суток всем скажите пожалуйста есть ли возможность работать с телефона в программе?
Helpful Reply
head-img
arch.madonia 6 March 2022
Favoloso sto entrando in questo mondo
Helpful Reply
head-img
Loma Da Ana 1 March 2022
design house
Helpful Reply
head-img
milharcic 27 February 2022
Useful
Helpful Reply
head-img
Homestyler Official 7 February 2022
Puede usar la herramienta "Modelado Interior 2.0" para lograrlo: 1. ingrese al entorno de personalización desde "Personalizar - Modelado Interior 2.0 en el catálogo de la izquierda. 2. use la "Línea" para dibujar el plano de la sección (el triángulo). 3. use la herramienta "Extruir" para formar el grosor@ lme8039
attachment
como hago una rampa
Helpful Reply
head-img
Homestyler Official 7 February 2022
You could use the "Interior Modeling 2.0" tool to achieve it: 1. enter customization environment from "Customize - Interior Modeling 2.0 in the left catalog. 2.use the "Line" to draw the section plane (the triangle). 3. use the "Extrude" tool to form the thickness@ lme8039
attachment
como hago una rampa
Helpful Reply
head-img
lme8039 27 January 2022
como hago una rampa
Helpful Reply
head-img
Emily McKeand 26 January 2022
mewmemememememememe
Helpful Reply