
First, while you are in your design, click render. A page like this should show up. Adjust where the camera is and pick the lighting (fresh is the best for most inside rooms) and enviorment (what will be seen out the windows). To make sure everything looks right, I'd suggest doing a speed preview first. The speed preview looks the most like UHD or 4K. HD renders will cost 1 homestyler point and UHD renders will cost 5 homestyler points. You earn 5 just by logging in once every day. once you think you like how everything is set, pick a resolution (Since you haven't used any points yet, I'd suggest going for the more expensive UHD) and click Render. The actual render will take about 30 or so to download. Once it has, you can view it in Images in the top right corner.

This is what a speed render looks like  Once your render have been created and completed you can add them to your project (which is what other people see when they click on your design.) Others cannot open your design or make changes to it. So if you want people to see the design, you have to add "pictures" of it so people can see it. Move your mouse over the design you want to add renders to and click "edit project".
Now that you have renders, you can change the cover design. Move your mouse over the cover space and click "Change cover"
 Your renders should show up like this and you can click on one and then click insert. Don't forget to hit save!
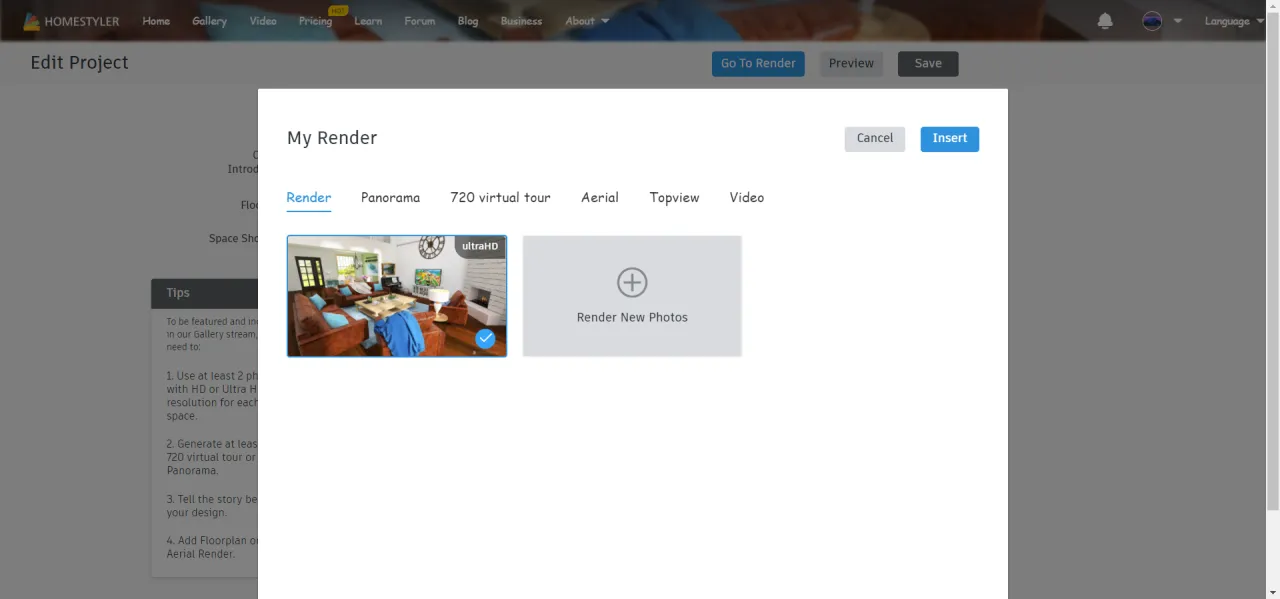
More pictures can be added the same way. You can show pictures of different rooms and/or different angles of the room. There is also the panorama render (which takes a render where you can look all around you), aerial renders (which are pictures of the whole space from a high angle), and top view (a complete birds eye view from above to straight down.
And that is how to take and add renders! Hope this was helpful to you and anyone else who needed help adding renders to their design! Thank you for reading this and please follow me!!!