If you're eager to elevate your SketchUp projects with captivating visual representations, then consider using Homestyler, which offers powerful rendering functionalities. With its robust features, Homestyler empowers designers to create lifelike images that truly showcase their concepts. This guide will outline the steps to access Homestyler and assist you in initiating your first rendering project.
What is Homestyler?
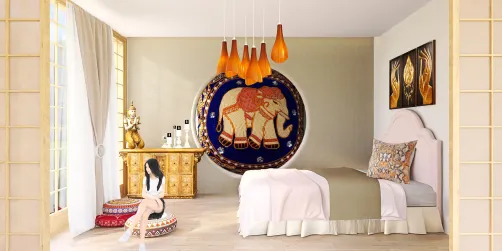
Homestyler is a standalone design tool celebrated for its authentic portrayal of lighting and materials. It integrates effortlessly with SketchUp, enabling users to produce high-quality visuals quickly and effectively. By utilizing a physically-based rendering (PBR) engine, Homestyler guarantees realistic behaviors in colors, reflections, and lighting, making it an ideal solution for interior design and architectural presentations.
How to Access Homestyler for SketchUp
To kickstart your journey with Homestyler in SketchUp, simply follow these straightforward steps:
Getting Started with Homestyler
Once you've downloaded and installed Homestyler, it’s your moment to start rendering your SketchUp designs. Here are a few pointers to help you dive in:
Tips for Achieving Optimal Results
To maximize your experience with Homestyler, keep the following tips in mind:
FAQ
Q: Is Homestyler truly free for SketchUp users? A: Homestyler offers a free version with certain limitations, but it is fully operational for most rendering needs.
Q: Can I render animations using Homestyler? A: Yes, Homestyler supports the rendering of animations, although it may involve extra steps compared to creating still images.
Q: What are the system requirements for Homestyler? A: For specific system requirements, you can visit the Homestyler website to ensure your computer is equipped to handle it.
Welcome to the No.1 Home Design Software!